Windows · Music-making guides
From your first note to your own music
Write a phrase, draw notes, play a keyboard, or generate an idea from rules and data. These guides connect the concepts on the home page to practical steps in Cogitsune Music.
The controls described here are in the Windows desktop app, checked against the development build of . Related lesson links open the website's interactive tutorial library.
Looking for Units, Spectrogram, Score or Plugin Manager? Read the recent feature guides →
Browse the complete RAMAA tutorial library →
Write, hear, change
Live coding: make a phrase with commands
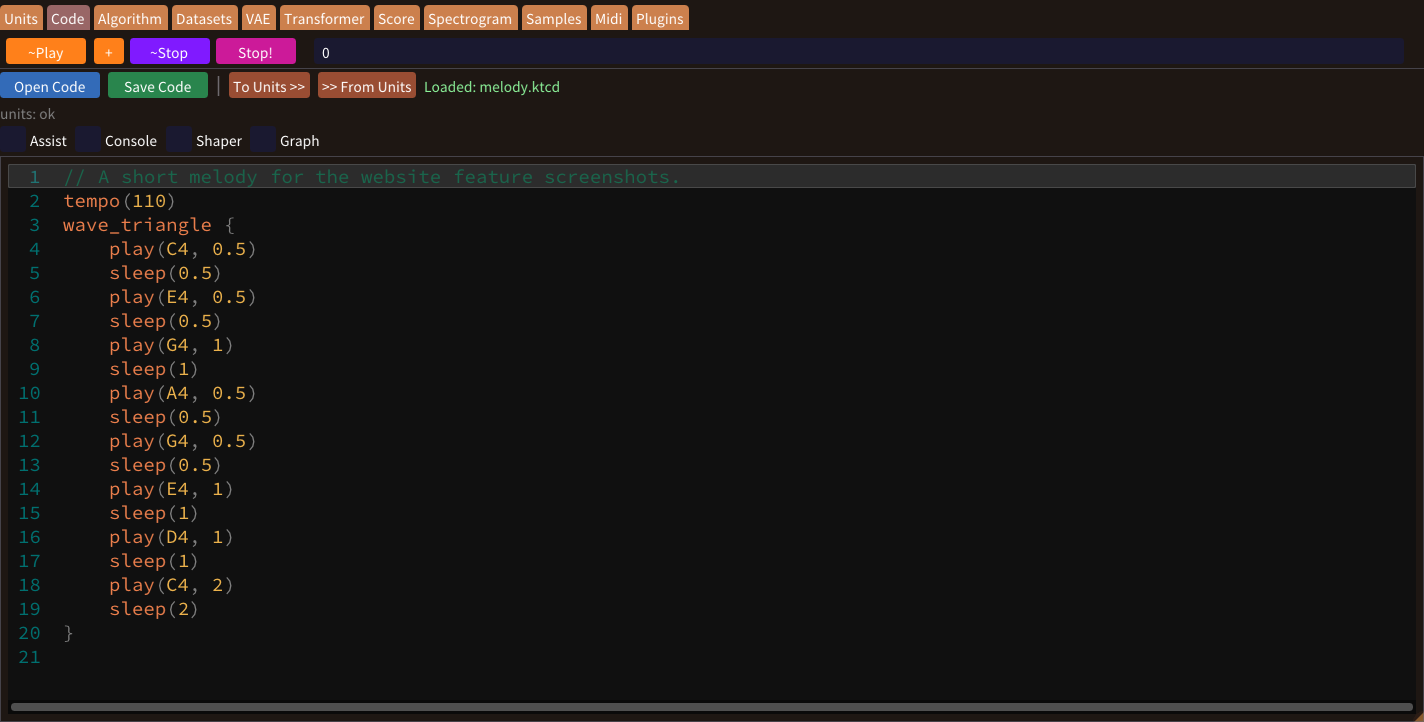
Code describes the notes and when they begin. play() starts a note; sleep() advances time before the next command. Change one value at a time to hear how pitch, duration and rhythm work together.
- Open the Code tab and enter the example below.
- Press ~Play or Ctrl+Enter to hear three notes.
- Change a pitch number, shorten a
sleep(), or put the phrase insideloop(2) { ... }. Press Play again to hear the change.
tempo(120)
play(60, 1)
sleep(1)
play(62, 1)
sleep(1)
play(64, 1)
sleep(1)
Here, 60, 62 and 64 are C, D and E. A duration of 1 is one beat. Two play() commands without a sleep() between them start together, making a chord. Named parts such as Lefthand { ... } and Righthand { ... } can run in parallel.
~Play queues another block if a block is already playing. ~Stop clears waiting blocks and lets the current block finish; Stop! stops immediately. The + button opens Periodic Play to trigger your code every chosen number of beats.
Try the basic note lessons → · Get help with Assist → · Move this phrase to Units →
Choose the voice of your music
Built-in synths & reusable samples
A plain play() uses a sine wave. Put commands inside wave_saw { ... }, wave_square { ... } or wave_triangle { ... } to try another waveform.
wave_triangle {
    play(60, 1, 0.01, 0.1, 90)
    sleep(1)
}
The arguments are pitch, duration, attack, fade and velocity. Attack controls how the sound begins, fade controls its ending, and velocity controls its strength. The built-in envelope uses Attack and Fade; keep both shorter than the note. Master Volume and Panning adjust each code window's overall level and stereo position.
Bring in a WAV sound
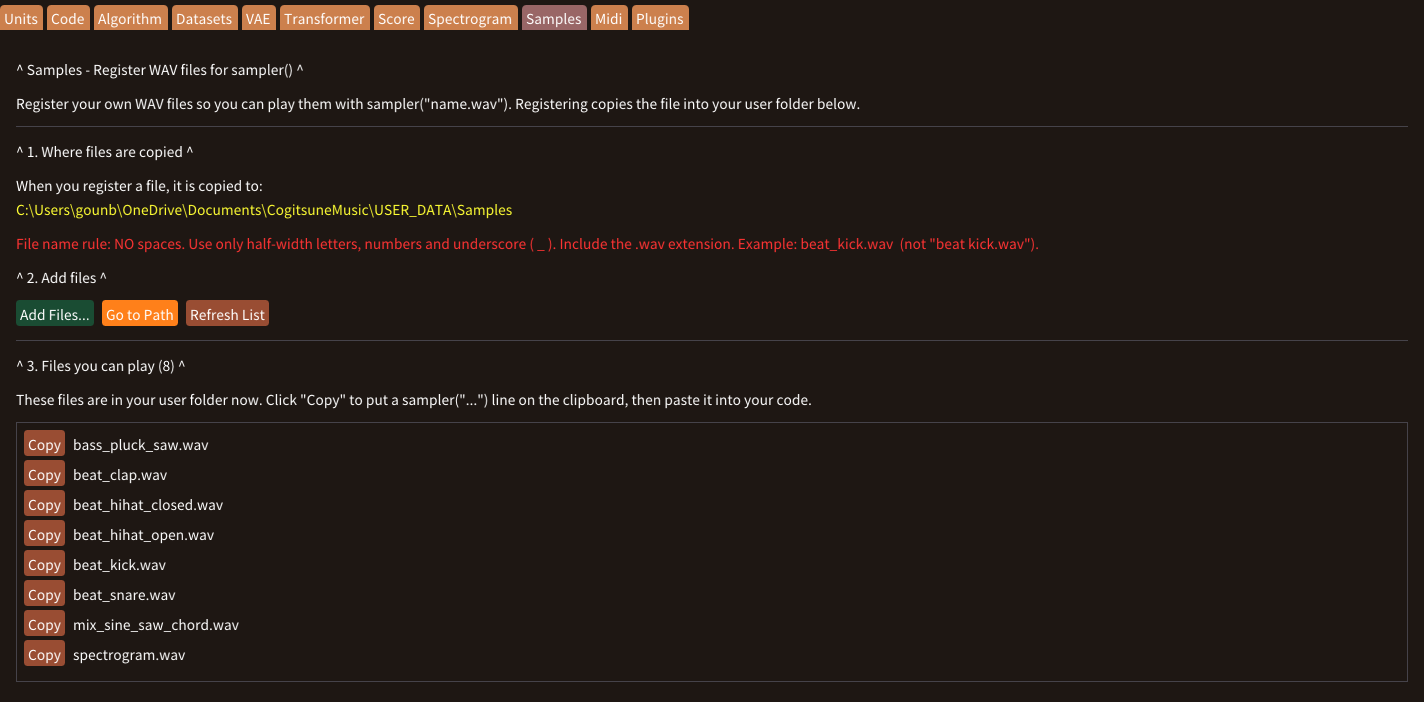
- Open Samples and use Add Files... to add a WAV file.
- Use Go to Path to view the sample folder. Files live in
Documents/CogitsuneMusic/USER_DATA/Samples. - Play the file from Code with
sampler("my_sample.wav"), using its actual filename. Addsleep()between hits to make a rhythm.
Explore attack, fade and velocity lessons → · Paint a new sample → · Use external instruments and effects →
Compose with rules
Algorithm: guide a generated phrase
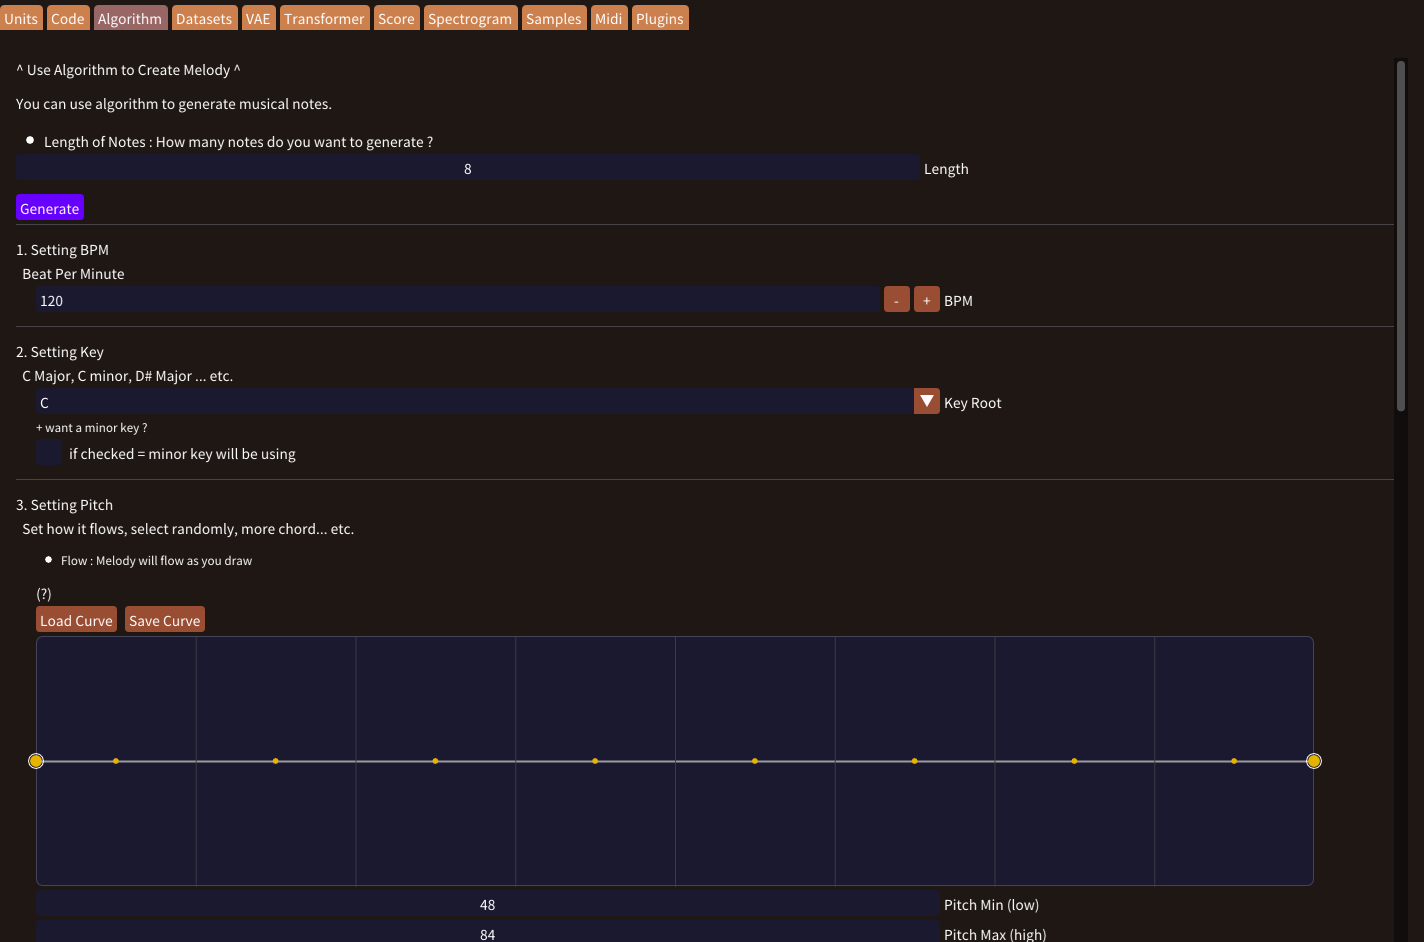
The Algorithm tab combines random choices with musical constraints. You set the boundaries and shape; the app proposes notes that fit them. This workflow does not need a trained neural network.
- Set the phrase Length, BPM, key and pitch range.
- Shape Pitch Flow with the curve editor. Double-click to add points, drag to move them and right-click to remove them. Adjust Flexibility to control how far the melody may wander.
- Choose the allowed duration and sleep values, and shape velocity. Add constraints such as a limit on repeated pitches, a maximum leap or a final tonic note.
- Press Generate and inspect the notes. Use << Insert Code to add the result at the cursor, or << Replace Code to replace the editor's contents.
- Play the phrase, adjust your rules, and generate another idea. You can edit the resulting Code or convert it to Units.
Explore the algorithm lessons → · Refine the phrase with Shaper → · Arrange it in Units →
Keep the music you create
Datasets: collect phrases for reuse and training
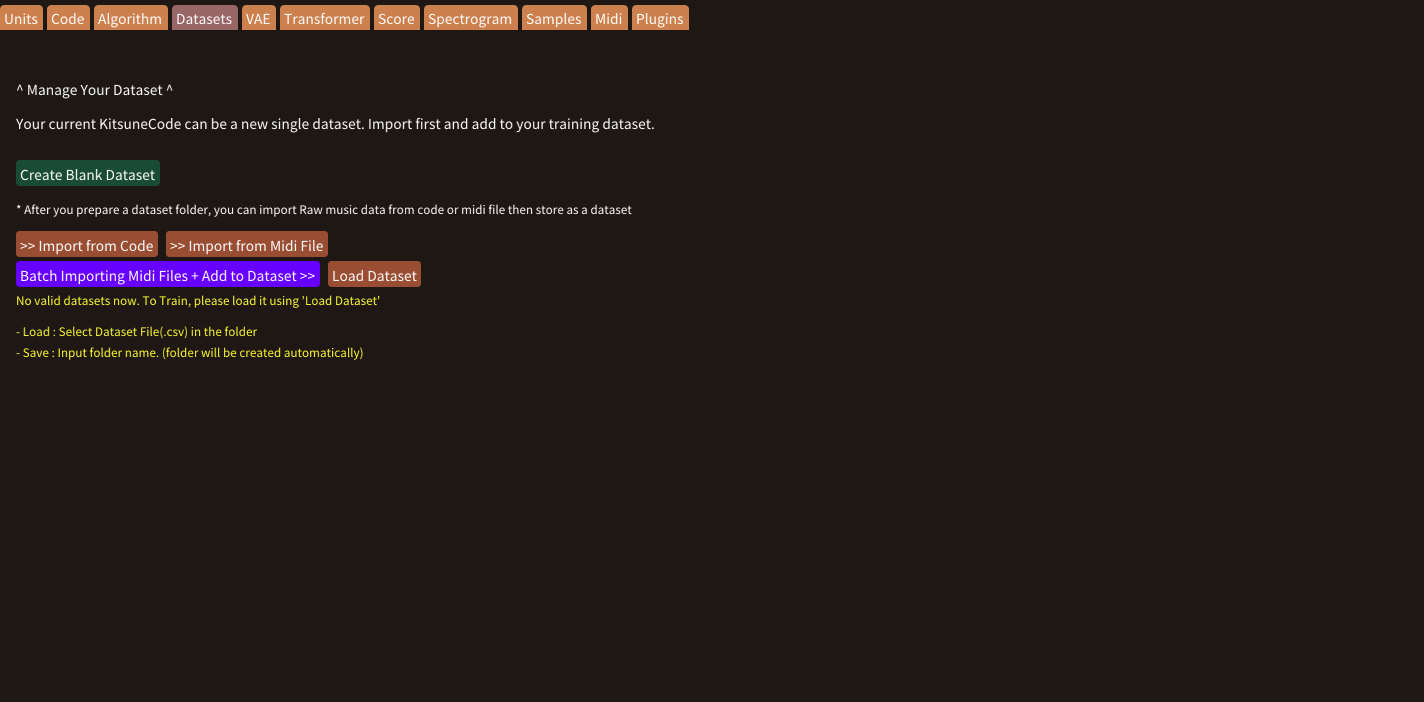
A dataset holds musical phrases as CSV data. Use it as a collection of ideas or as examples for the VAE and Transformer. The Datasets tab brings importing, labeling and reviewing those phrases together.
- Choose Create Blank Dataset to create a dataset folder.
- Use >> Import from Code or >> Import from Midi File to bring in a phrase. For multiple MIDI files, use the batch import control.
- Review Imported shape and the note table. Add a category and keywords, then choose Add Phrase data to Your Dataset >>.
- Use Load Dataset to reopen the collection. A stored phrase can be sent back to Code for playback or editing.
The Transformer uses category and keyword labels as conditioning words; the VAE learns from the notes. Named parallel parts are retained so that the data can describe several musical parts together.
Follow the dataset lessons → · Train and use a model → · Read the imported phrase's graph →
Explore patterns in your data
VAE & Transformer: two routes to new phrases
VAE: learn from a collection of phrases

- Load your collection in Datasets, then open VAE > Train Model.
- Set training options such as epochs, batch size and learning rate. Press Start Training, then Save Model when ready.
- In Use Model, load a trained model with Load Model and press Generate.
- Inspect Generated shape and the notes, then insert or replace Code to hear and edit the result.
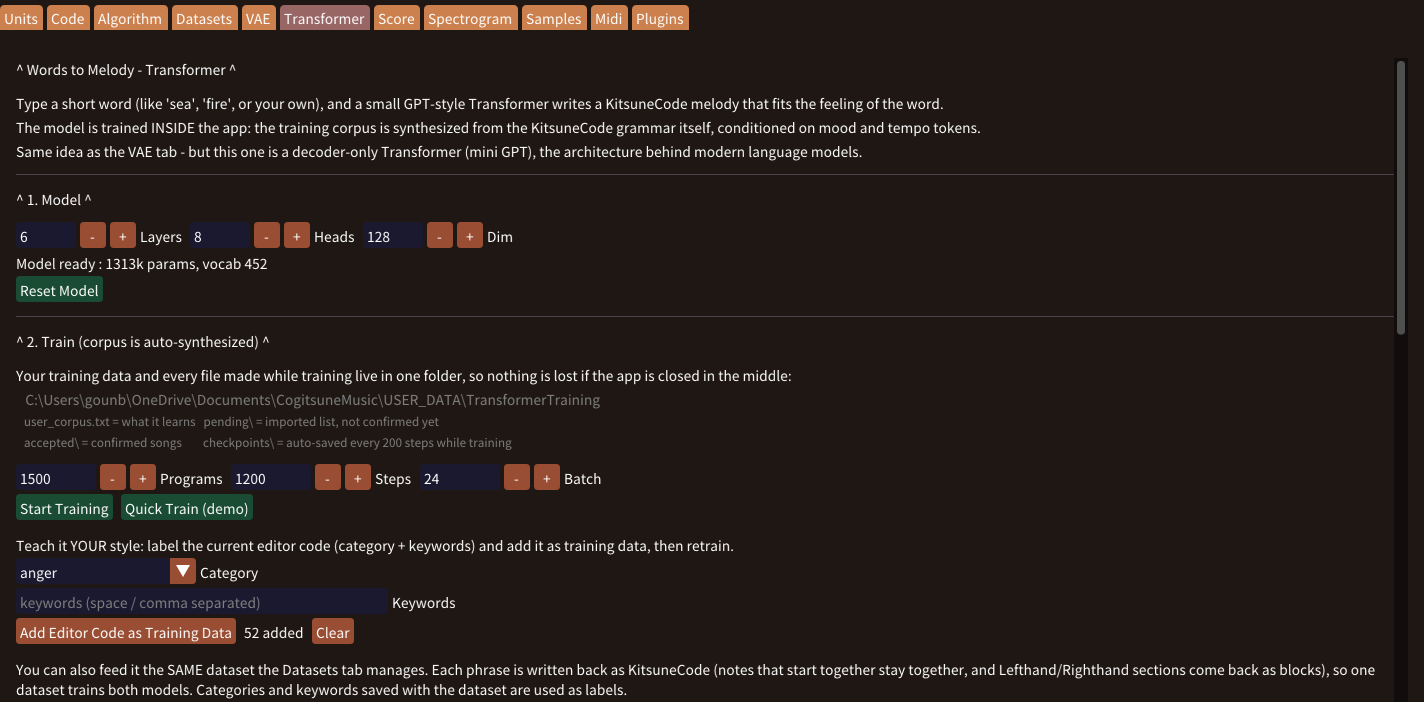
Transformer: begin with a word
- Open Transformer and type a short English or Japanese word in Word. A built-in model provides a starting point.
- Press Generate Melody, then inspect the graph and code preview.
- Use Insert to Editor or Insert & Play to transfer the result. Save your current Code first if you want to keep it: this transfer replaces the editor's contents.
To train with your own pieces, use Add Editor Code as Training Data, or batch-import .ktcd files. Review the pieces and their labels before confirming the batch, then start training. Save the model so you can return to it later.
Training takes time and depends on the examples you provide. A generated phrase is a starting point: listen, compare and edit it before adding it to your composition.
Explore VAE lessons → · Explore Transformer lessons → · Prepare your data →
Edit notes on a grid
Piano roll: draw, move and refine notes
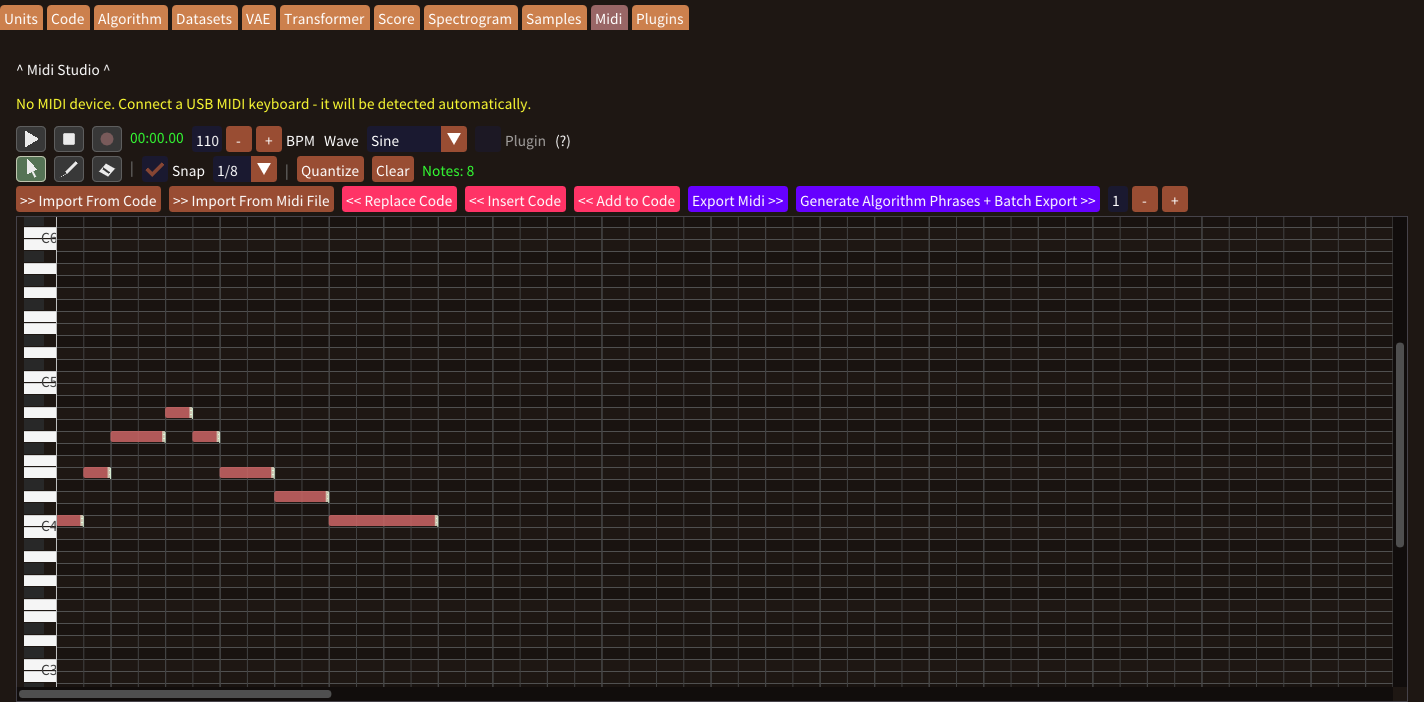
Open Midi to work with notes visually. Start with an empty roll, use >> Import From Code, or load a MIDI file.
- Select Pencil (2) and drag in an empty area to draw a note.
- Switch to Select (1). Drag a note to move it, its right edge to change its length, or empty space to select a group. Eraser (3) removes notes.
- Use Snap for grid-aligned edits and Quantize to align existing notes. Undo and Redo let you compare changes.
- Press Play or Space to preview the roll. Choose a Wave or enable Plugin to use the instrument loaded in Plugins.
- Choose << Insert Code or << Replace Code to continue in Code, or Export Midi >> to save a MIDI file.
Ctrl + mouse wheel zooms the timeline. Right-drag or use the wheel to scroll. Click a note or a key in the keyboard column to preview its pitch.
Try the piano-roll lessons → · Record from a keyboard → · Read the resulting Code as a score →
Play your ideas by hand
MIDI keyboard: monitor and record
- Connect a MIDI keyboard and open Midi. The device list refreshes while the app runs.
- Select the device and press Device On. Live monitoring lets you hear the notes through the selected waveform or loaded plugin.
- Press Record to capture your playing in the piano roll. Recording overdubs: existing notes keep playing while new notes are added.
- Stop the take, review the notes, and use Quantize or manual edits to refine the timing. Transfer the result to Code or export MIDI.
A MIDI recording stores note events. To keep the actual sound of your instrument or effects, make a WAV recording as well.
Open the MIDI lessons → · Edit your recorded notes → · Choose MIDI or WAV output →
Take your music further
Save the sound as WAV or the notes as MIDI
| Format | What you keep | Useful for |
|---|---|---|
| WAV | Rendered or recorded audio, including its sound. | Listening, sharing and reusing a sound as a sample. |
| MIDI | Editable note and timing information, not the instrument's audio. | Continuing the arrangement in another sequencer or with a different instrument. |
Record a WAV
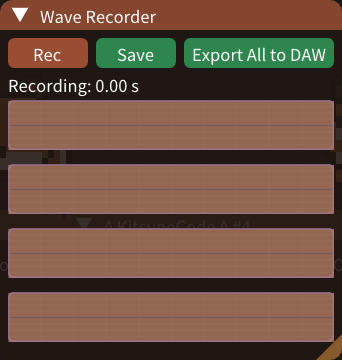
In Wave Recorder, press Rec to start capturing audio and perform your music. Press Stop, then Save to export a .wav file. Add the saved sound to Samples if you want to play it again with sampler().
Export MIDI
Open Midi and review the notes in the piano roll. Import your Code if needed, then choose Export Midi >> to save a .mid file. The receiving application supplies the instrument sound.
Keep your editable source too: use .ktcd for Code or .ktpr for the multi-window project. Exporting audio or MIDI does not replace saving your working project.
Follow the WAV recording lessons → · Save your editable project → · Export a printable PDF score →